
Hi friends! Preeti Datta (Dutt Preety) on the Lindy’s blog today to show you step by step how to create Simple Ombre Ink Blended Backgrounds using Lindy’s Gang Sprays.
Ombré is a colour gradient effect where we blend colours into each other, going from lighter to darker shades. There are multiple ways to achieve an ombré look, today I will share how to achieve a look similar to dye ink pads.

Ink Blending using dye ink pads is a very popular technique, so I wanted to create a similar look using Lindy’s Gang gorgeous sprays. It’s very beautiful, easy to achieve & addictive! And you don’t need many supplies, just some simple tools & your Lindy’s sprays. Once you try it with one colour, you will feel like trying it out with all your colours. This technique can be used for making backgrounds or in any projects like art journals, tags, cards, layouts, canvases etc. I will also share how to create 4 simple tags with the Ombré backgrounds.
Basic Process of Ombre Ink Blending
Die-cut tags with a tag die and sturdy watercolour paper (300 gsm)

All we need for the ink blending is:
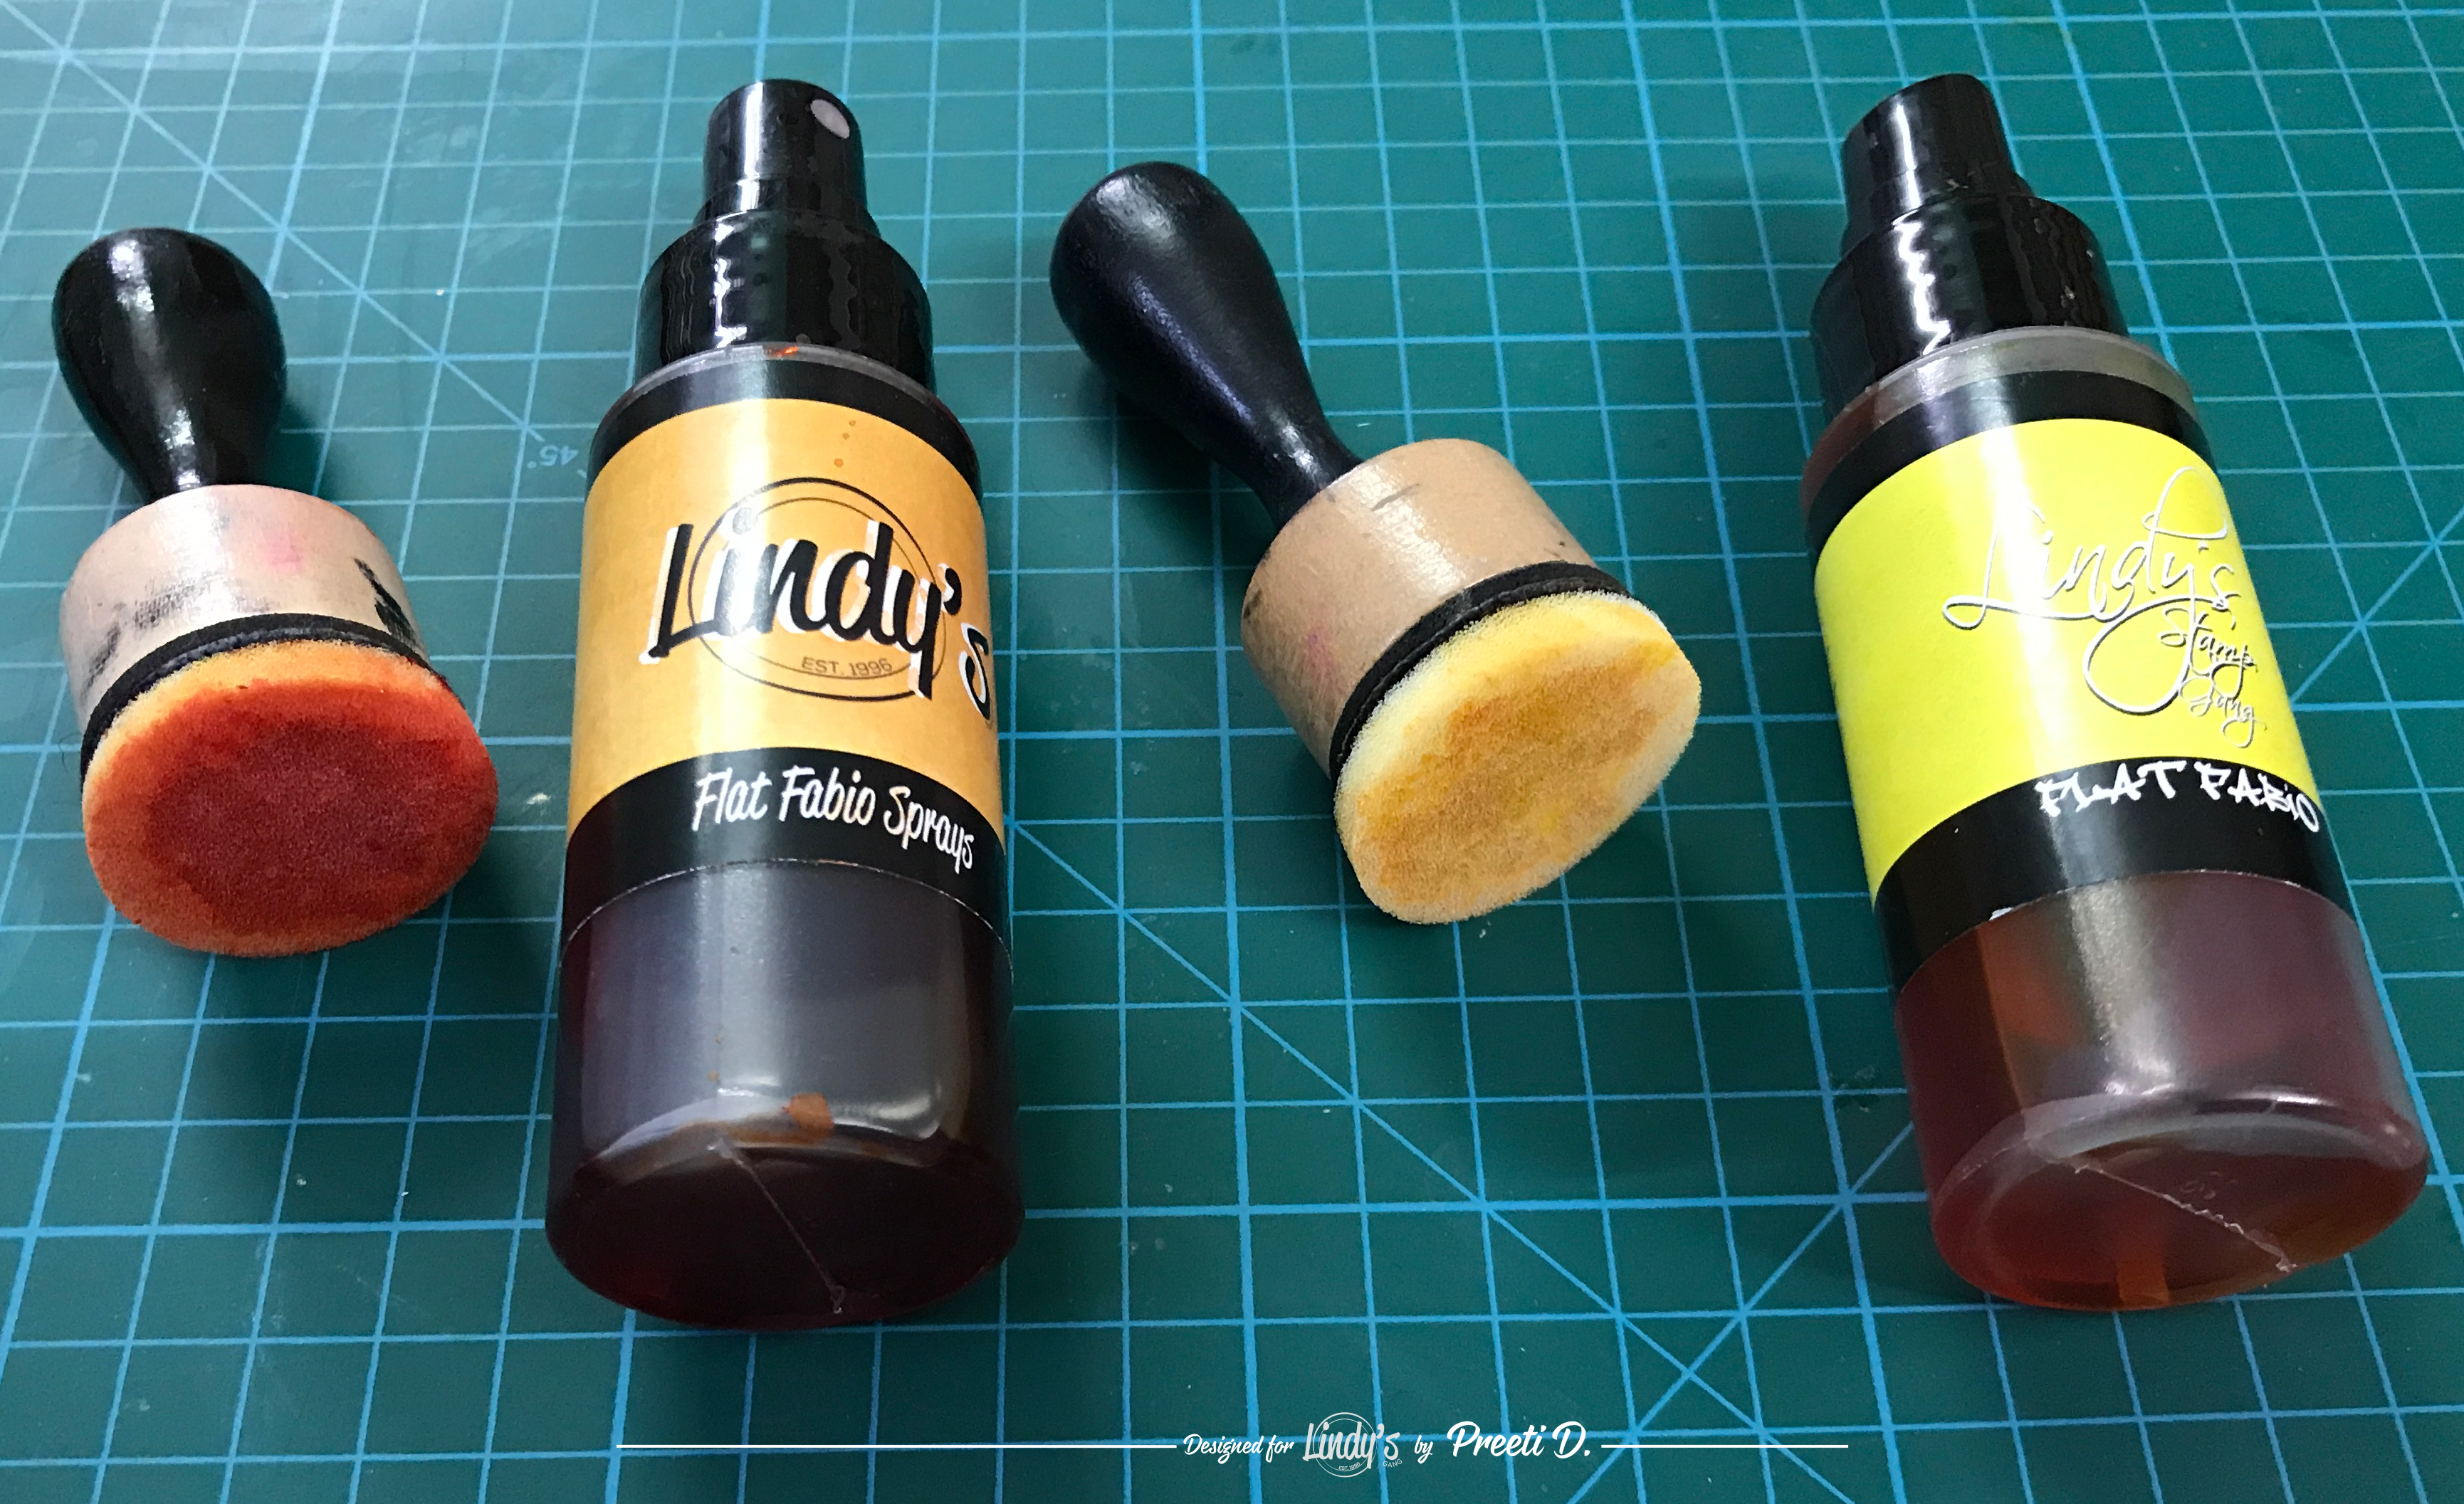
- 3 Lindy’s Gang Sprays,
- 3 blending foams &
- a mini blending tool. (If you do not have these, you could even try using regular foam or makeup sponges but these work best as they are designed to blend inks).

First, attach the blending foam to the blending tools & then spray a couple of times onto the blending foam. This will saturate each foam with the respective colour. So here, we have the darkest colour on the left, Lindy’s Gang Mango Mania Flat Spray & on the right, the medium colour, Lindy’s Gang Pineapple Paradise Flat Spray.
Start with the darkest colour & with the blending tool apply it to the bottom of the tag. Use a light hand motion, no heavy pressure required, the ink is wet and will go onto the tag easily.
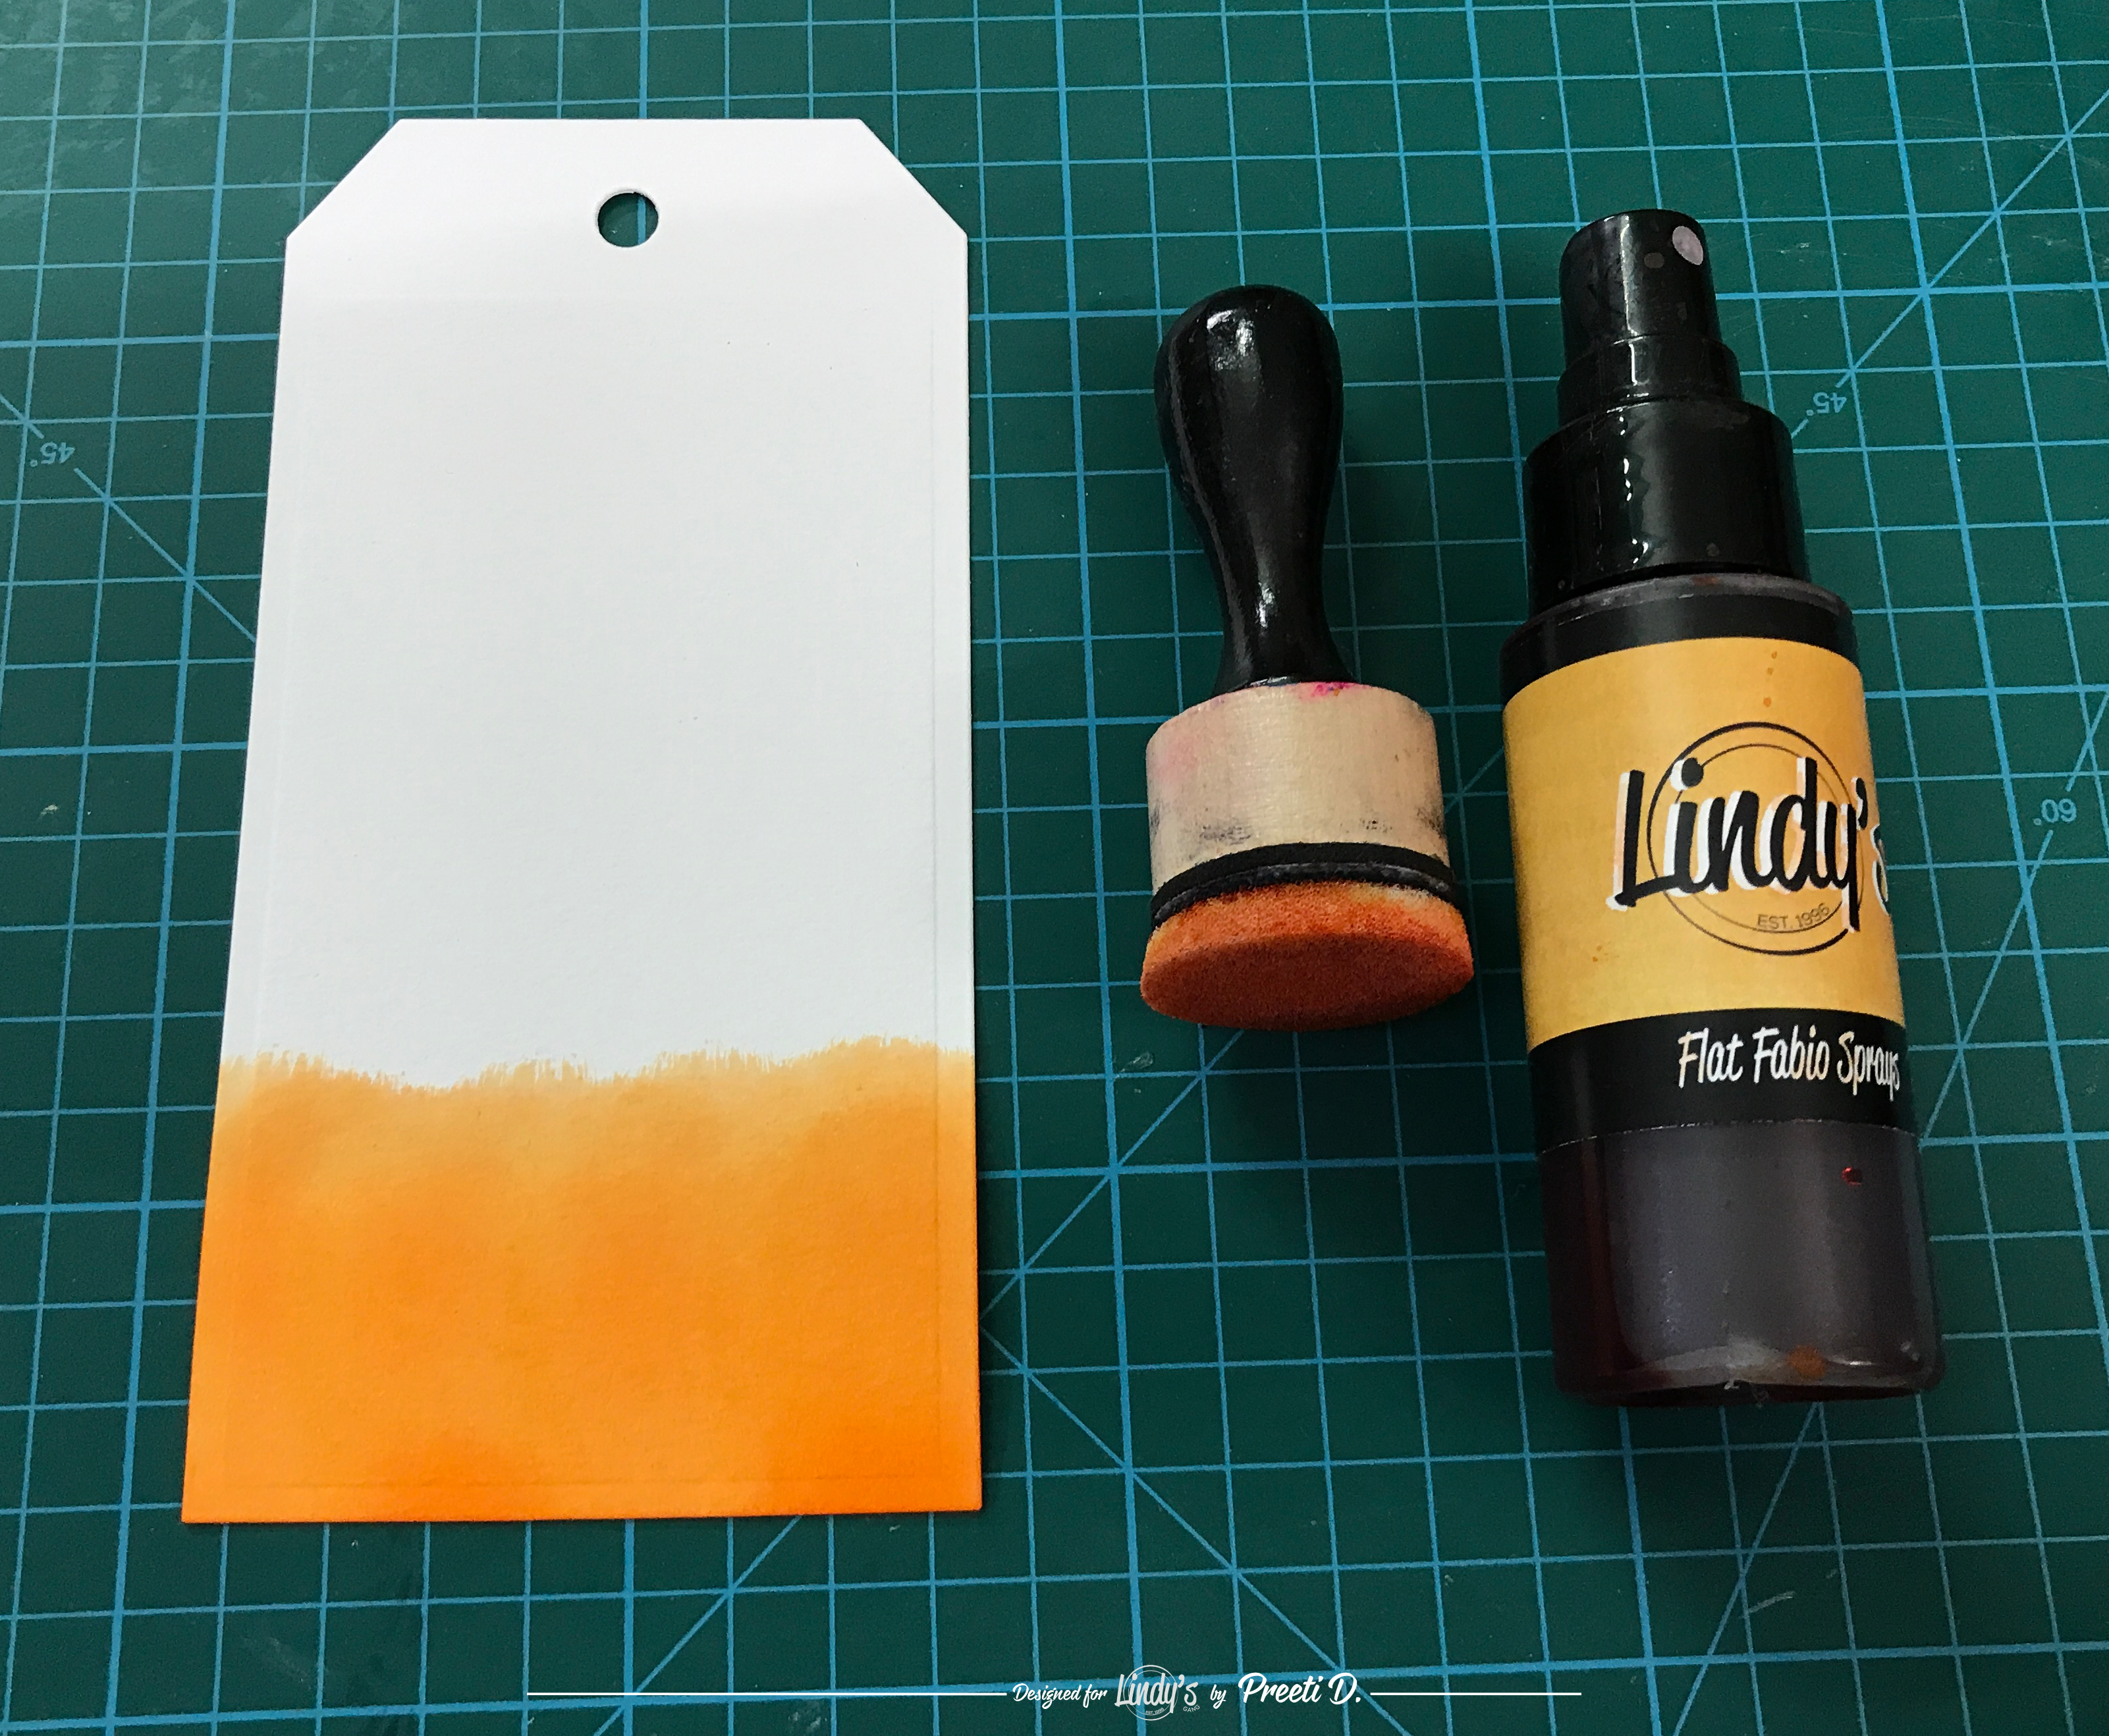
Now, we want to make the darkest colour look darker, so go over the area two-three times again with the blending tool & foam. This makes the colour even more saturated & darker.

Now, it’s time to introduce the second colour, the medium one. In the same way, as we did with the darkest colour, blend the yellow colour onto the middle of the tag.

To make the 2 colours blend well, we use both blending tools and go over the tag, when the wet ink in the foam comes in contact with the dried ink on the tag, it makes them mix and blend. Go over the area a couple of times lightly, let the foam do all the work. Don’t use a lot of pressure or else it may cause pilling of the watercolour paper.

Now, move onto the lightest colour Side Walk Chalk Flat Spray. Spray it a couple of times onto a fresh blending foam.

Just as we did with the previous layers, blend the colours using 2 colours at a time (lightest & medium). It doesn’t take much time. Within a total span of 5 minutes using only 3 Lindy’s Gang Sprays, you have your ink blended background ready!

Basic Process for Simple Gift Tags
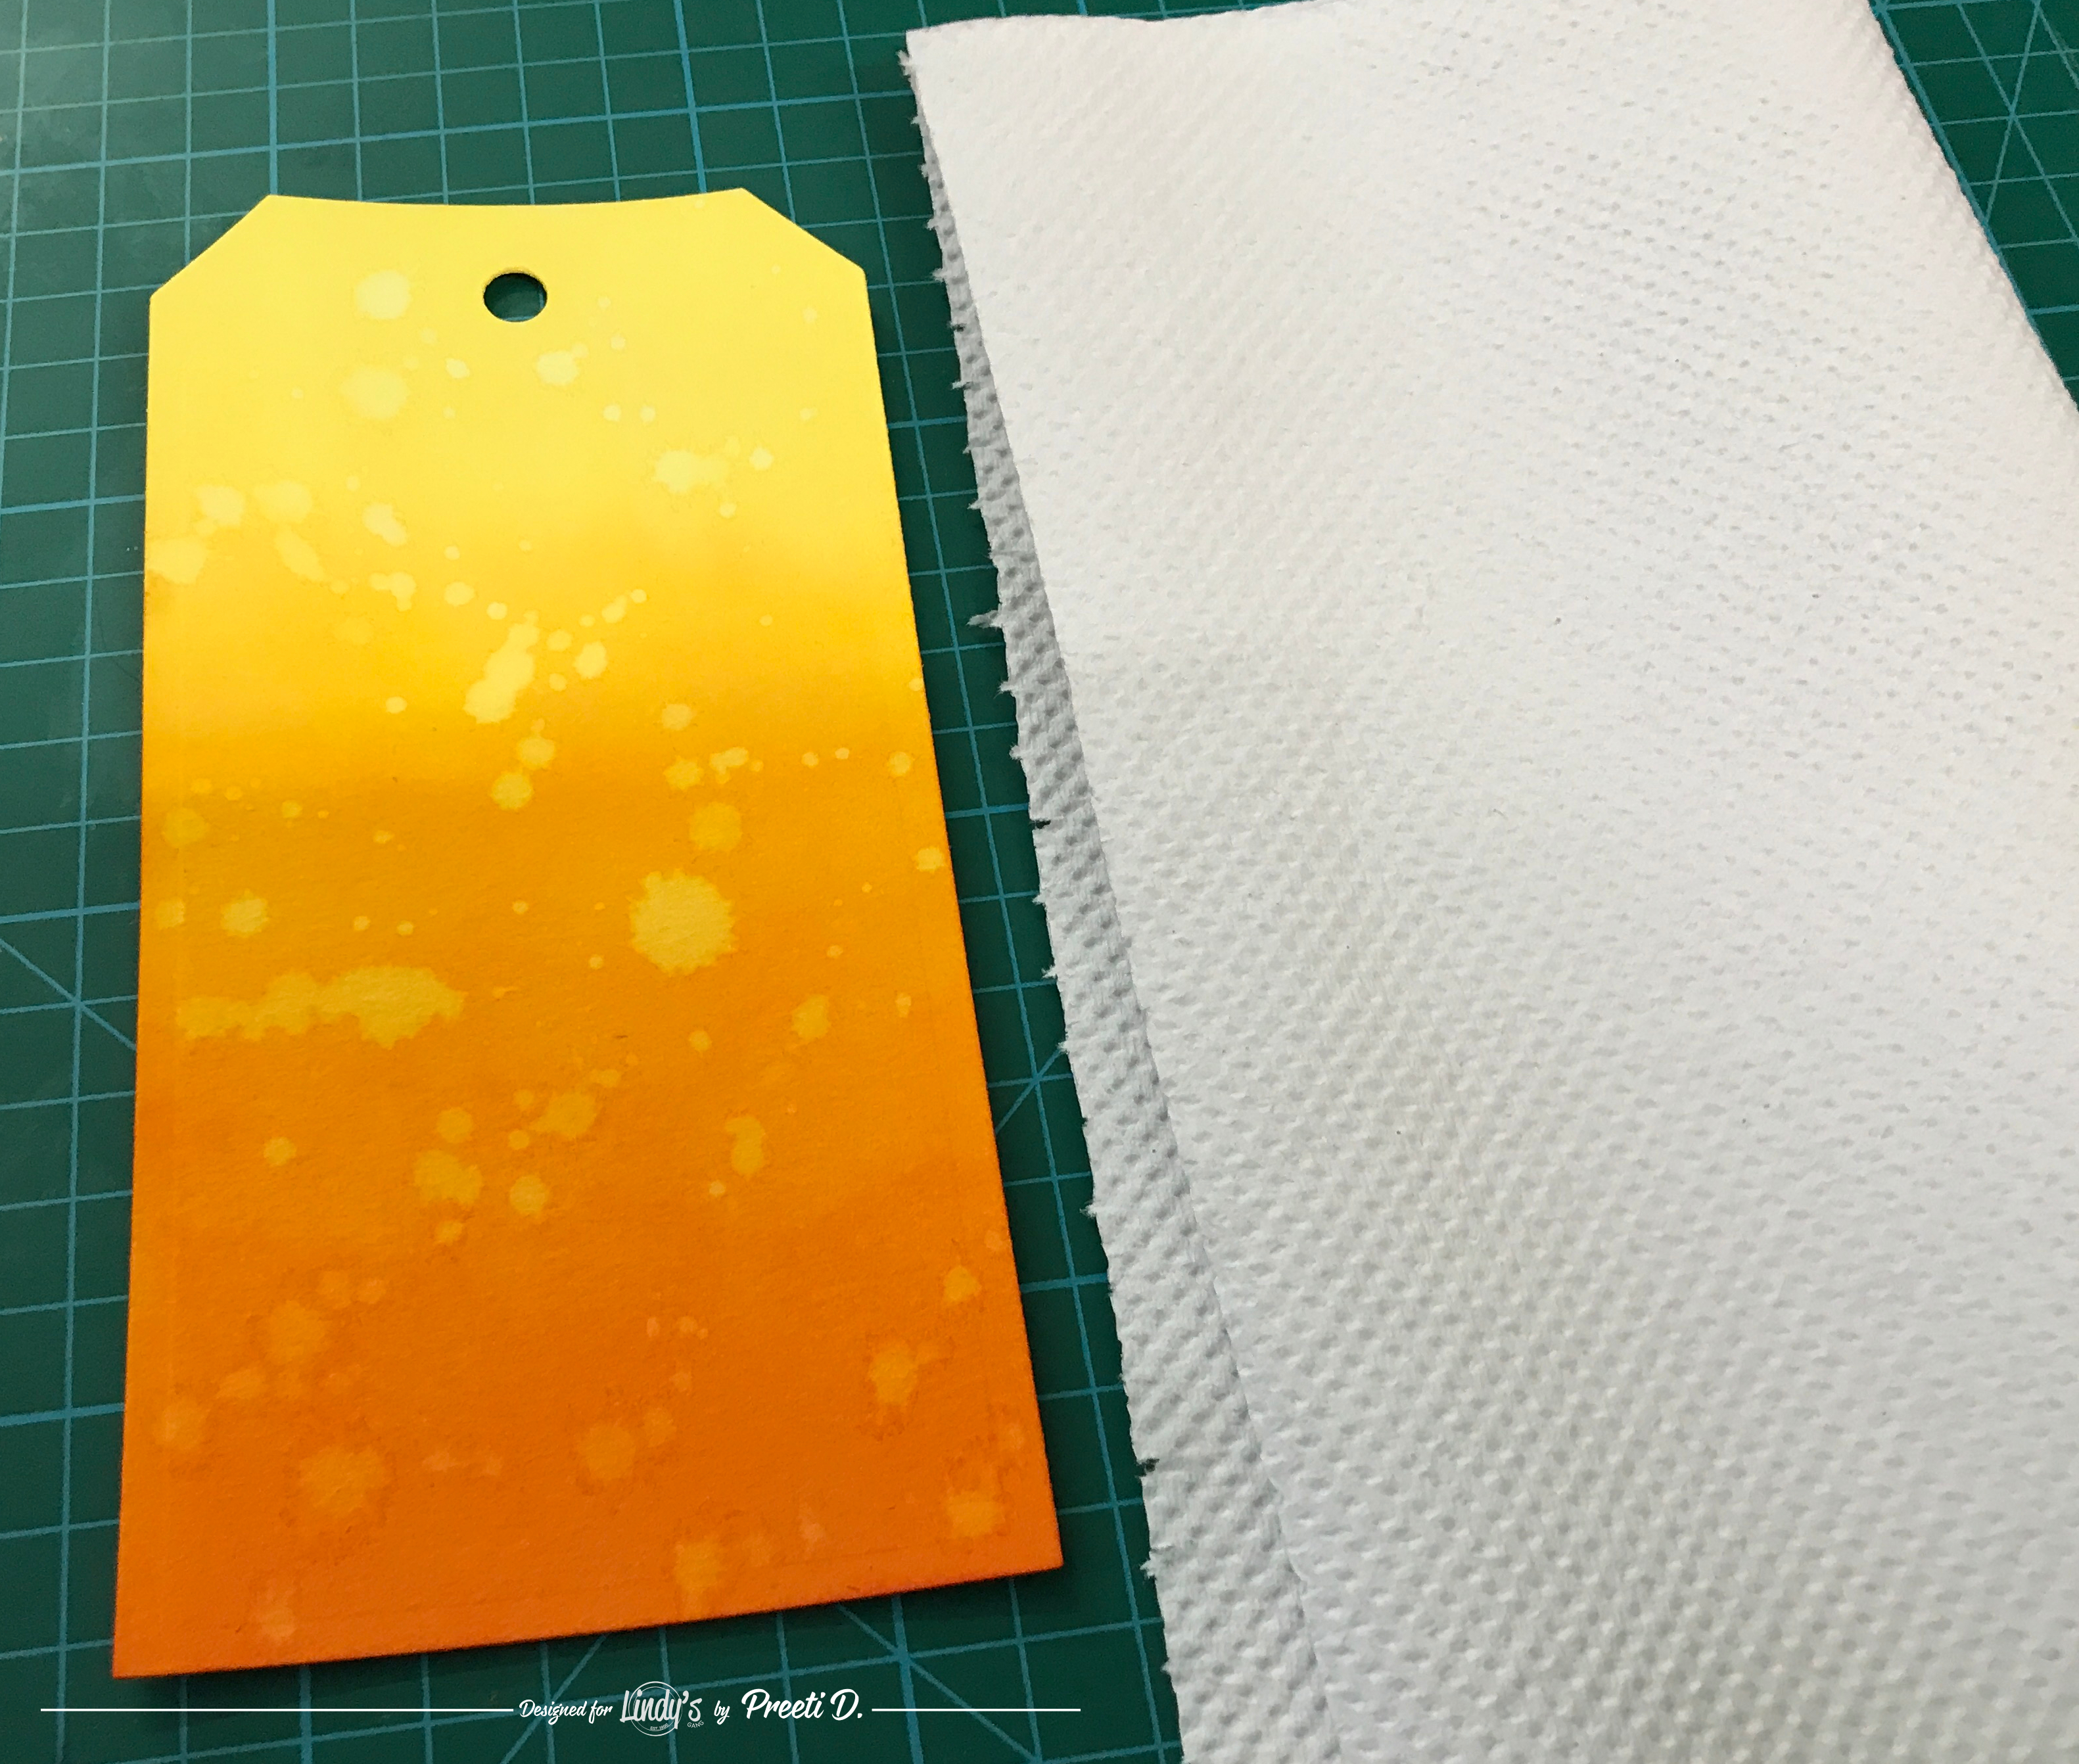
We need to create interest, add a few details & give these backgrounds an artsy look. So start by splattering water onto the tags. Since Lindy’s Gang Sprays are water-reactive, drying this splatter with a paper towel will lift up some of the ink & give us a beautiful splatter effect.

I absolutely love these water spots! They look so cool! This effect is just like with dye inks pads!
Now we will use the same Lindy’s Sprays to stamp onto the background! Isn’t that a cool & fun way to use our sprays? To ensure that we do not get a splotchy look, will dab the blending foam (which are sprayed with Lindy’s Sprays) onto the stamp, this will ink up the stamp & then we can stamp onto the background.

We do not need perfect stamping, just a little text here & there, to add interest. 
Now, we will do a little more stamping and mark making on our backgrounds. This time we will use everyday items & the same blending tools (already saturated with Lindy’s Gang Sprays). Using these blending tools & foams to transfer ink ensures that the stamps etc do not get oversaturated with ink & we get a better image than straight away dipping the stamps in some sprays. Here, we use a Lindy’s spray bottle cap whose edge acts as a circle stamp. Ink it up with the blending foam & randomly stamp circles onto the background. 
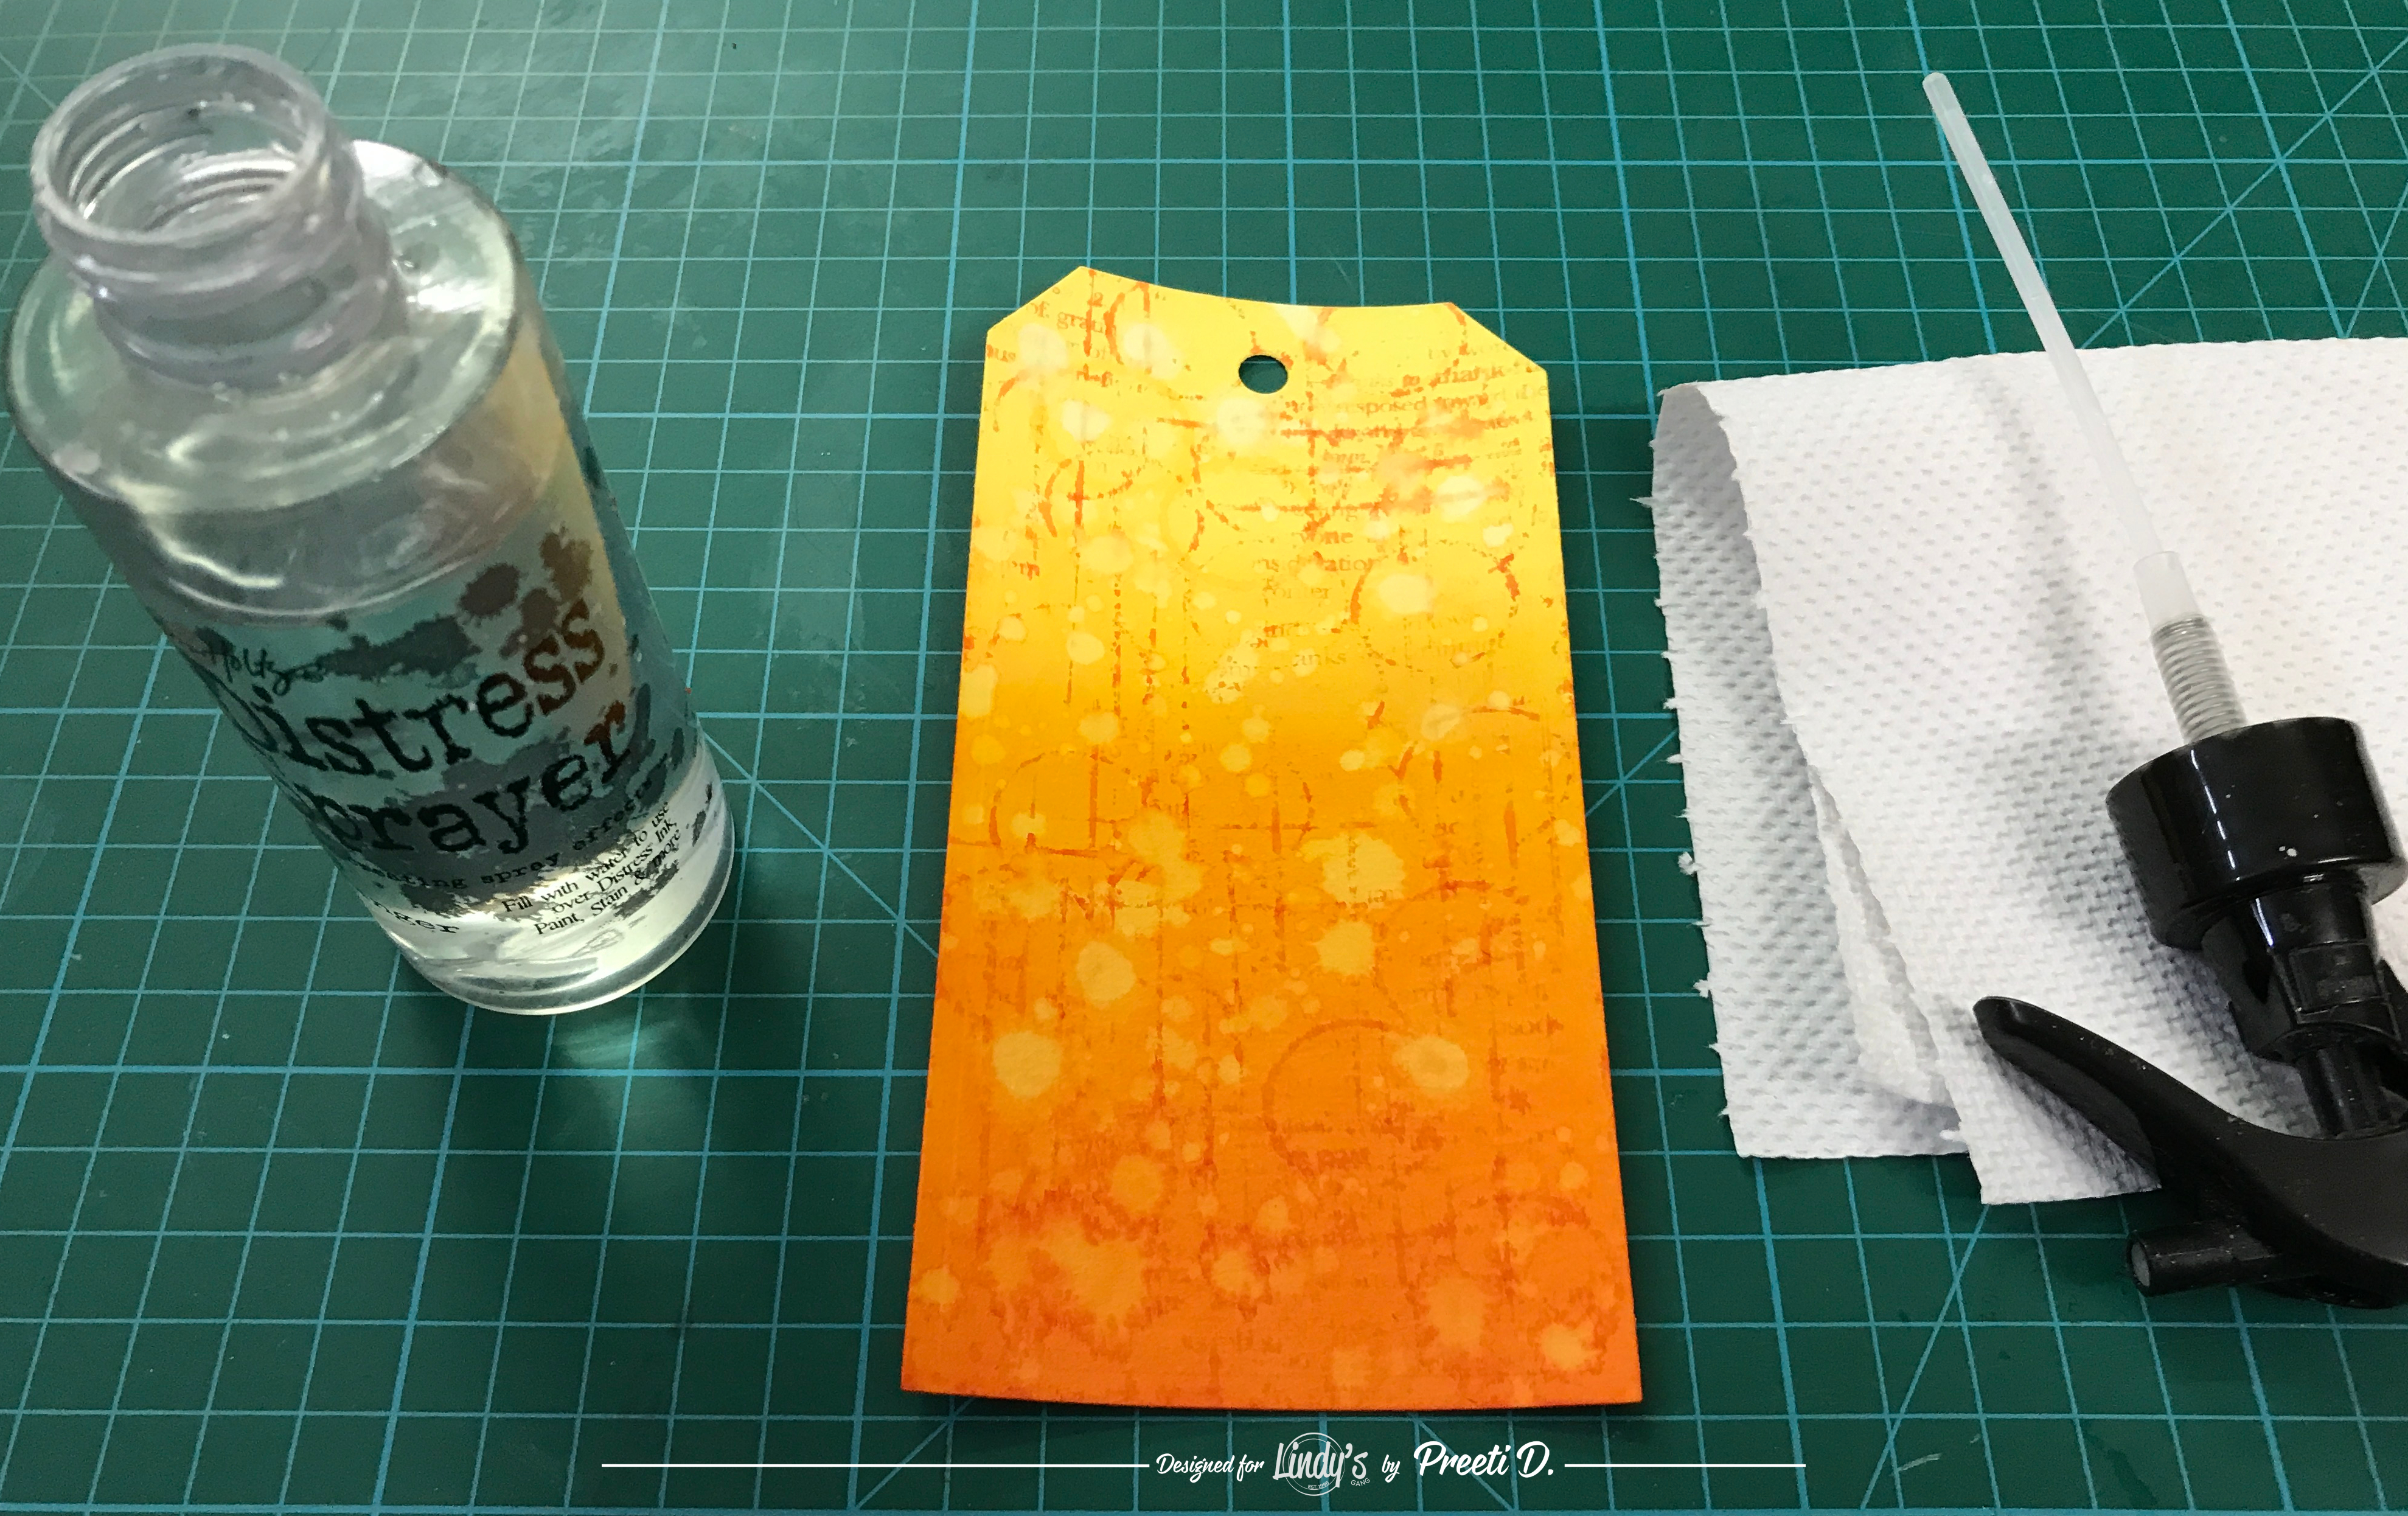
Next, stamp some lines onto our background by inking up the edges of an old credit card with the blending foam (saturated with Lindy’s Gang spray) & then stamping it onto the background randomly in a criss-cross manner.

Now, splatter some more water & dab away the ink with a paper towel, this makes the stamping done in the previous steps look more natural & part of the tag.
For the focal elements on the orange tags, I’ve chosen Tribal Figures. These silhouettes are blended onto our backgrounds using black archival ink & then a sentiment is stamped in black as well.

To finish these tags, the hole guards & tag edges are also coloured with the blending foams (saturated with Lindy’s Gang Sprays) & the edges of the tags are distressed. Finally, glue the tags onto thick black card stock with a tiny border all around, all the edges are distressed & to finish, tie some black twine at the top of the tags.

This technique was so fun & addictive that I made a second set of tags using the same techniques explained above. For these, I used floral die cuts as the focal elements, these were embossed with Lindy’s Gang EP- Midnight Pewter. To create the Ombre Ink Blended Backgrounds, I used Lindy’s Gang Sprays- Afternoon Delight Denim Shimmer Spray (darkest colour), Tibetan Poppy Teal Shimmer Spray (medium colour) and Sidewalk Chalk Flat Spray (lightest colour).

Here are some photos of the finished Tags


Lindy’s Products
- Sprays- Mango Mania Flat Spray, Pineapple Paradise Flat Spray, Sidewalk Chalk Flat Spray, Afternoon Delight Denim Shimmer Spray, Tibetan Poppy Teal Shimmer Spray
- Embossing Powder- Midnight Pewter EP
Other Products:
- Canson Watercolour Paper, Sizzix Dies- Tag Collection & Wildflowers (TH), Stamp by Stamplorations, Tonic Studios Paper Distresser, CrafTreat Stencil, Ranger’s Archival Inkpad, Mini Ink Blending tools & foams, Versafine Onyx Black Ink Pad, Versamark Watermark Inkpad, Dovecraft Heat Tool & Tombow Mono Multi Liquid Glue.
Thanks a lot for your precious time!
Stay Blessed
Preeti
![]()